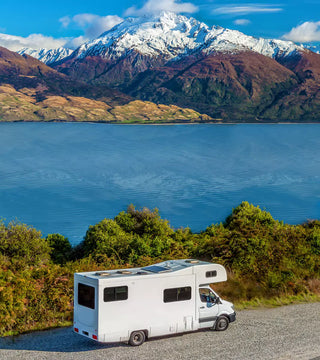
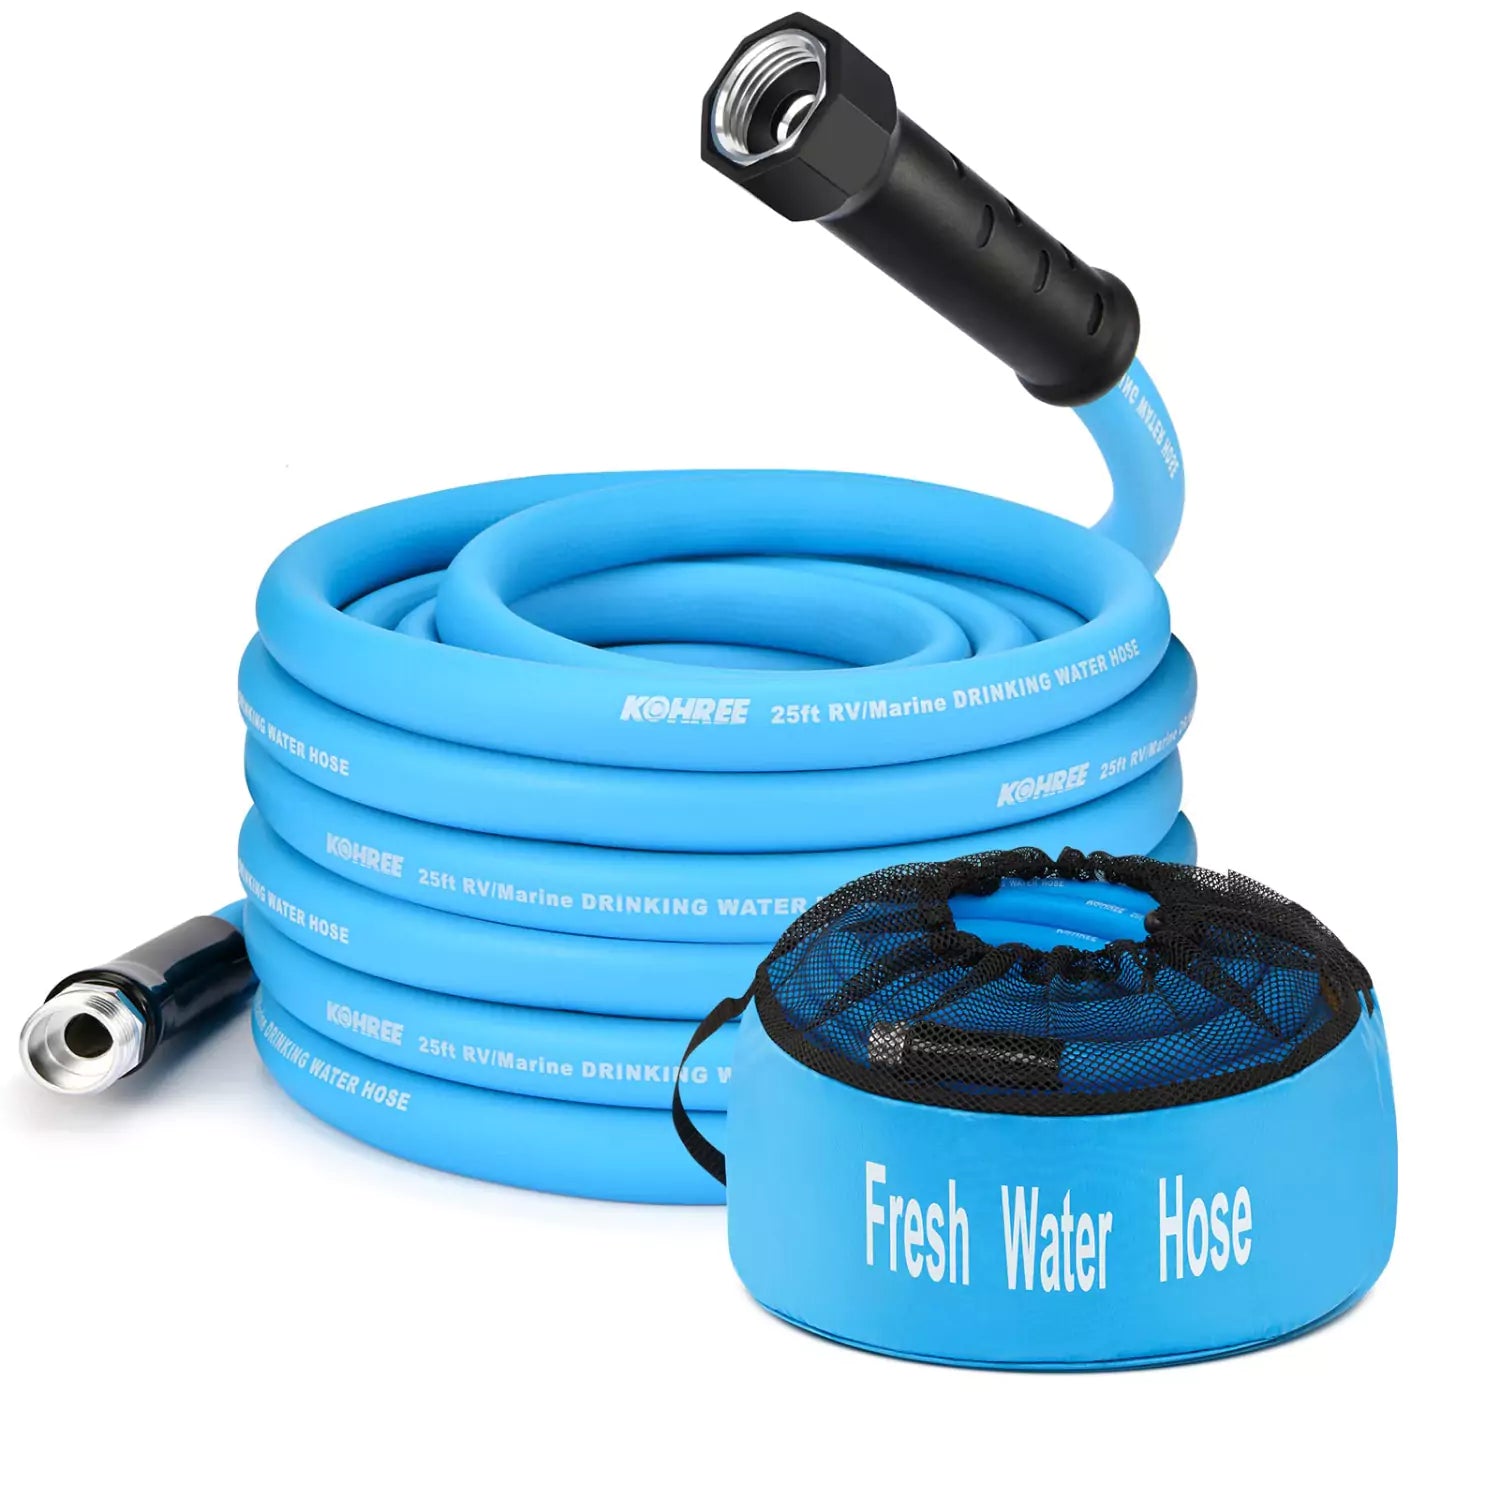
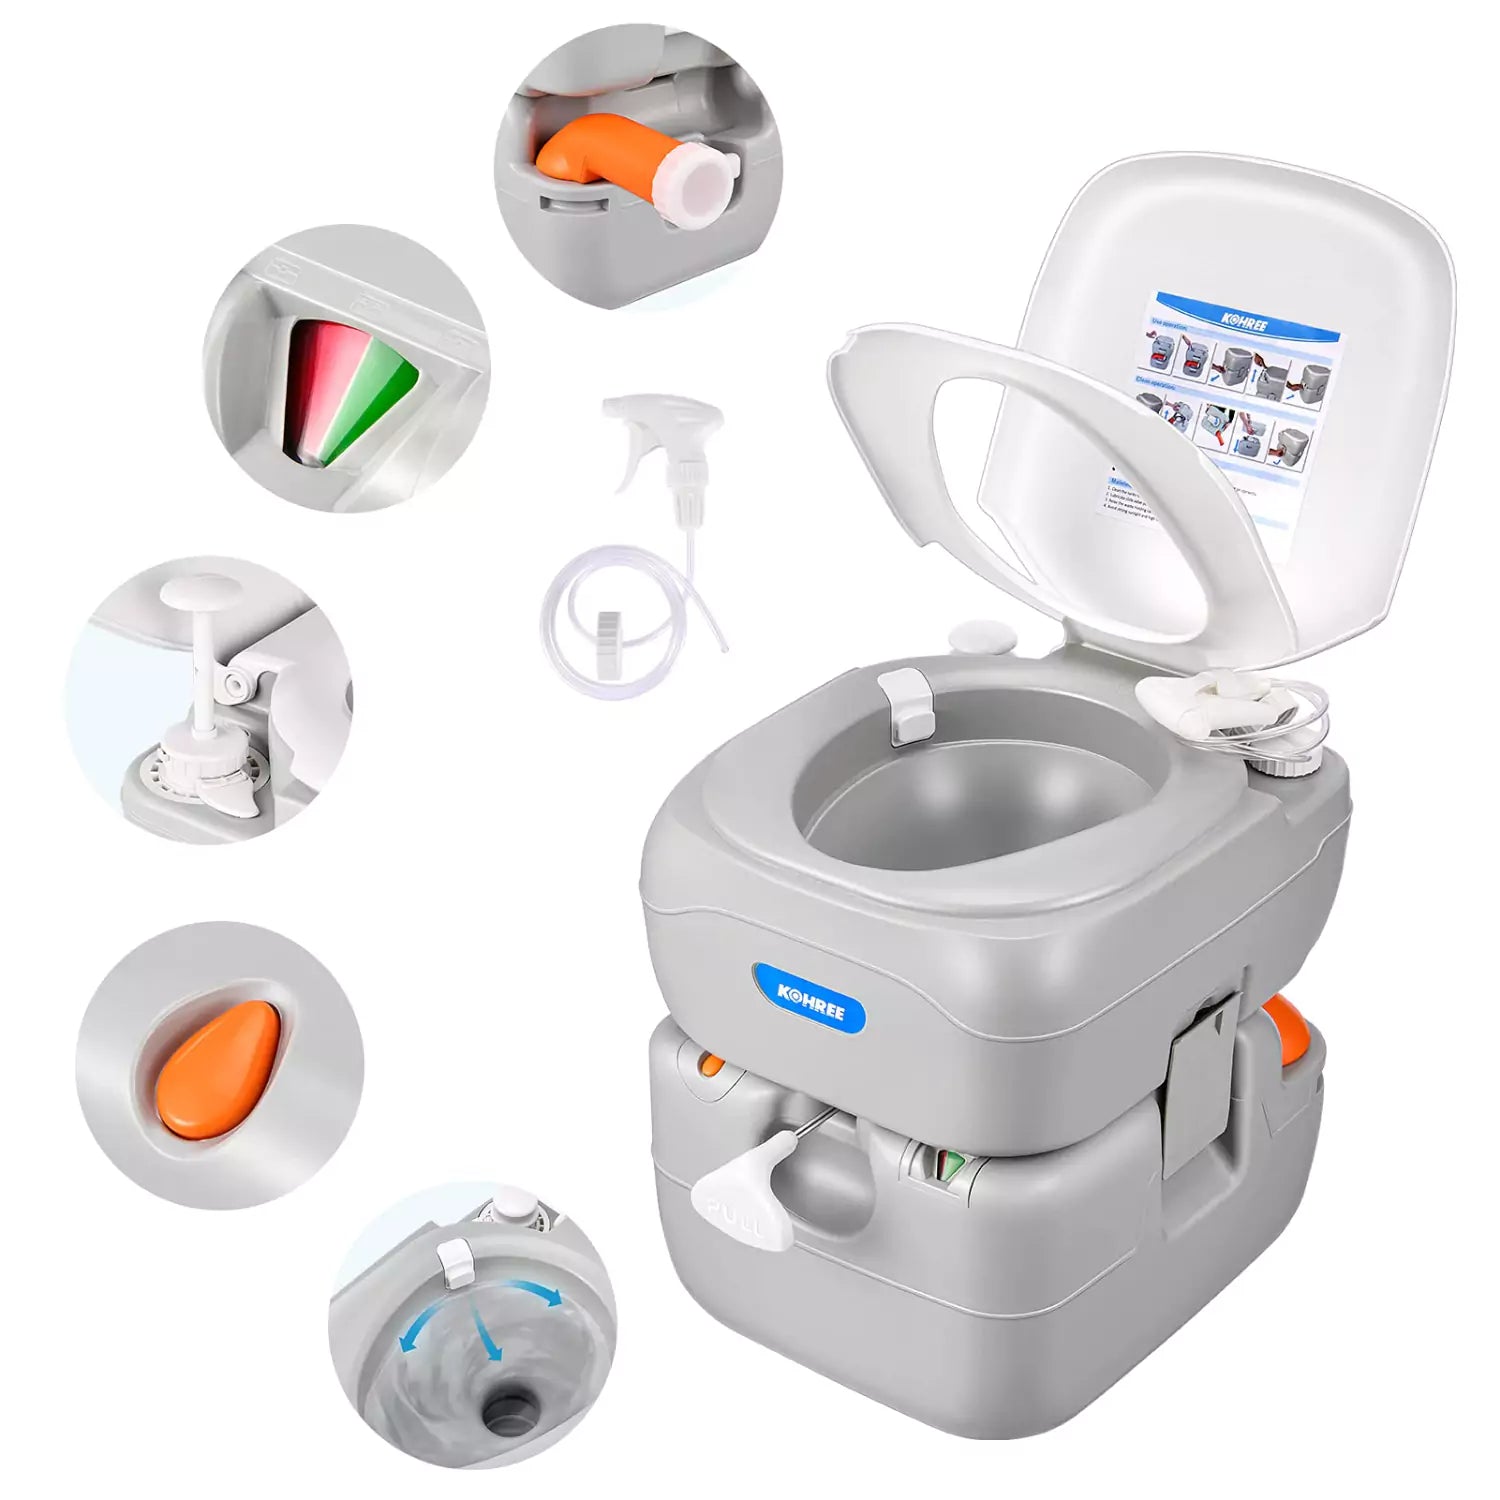
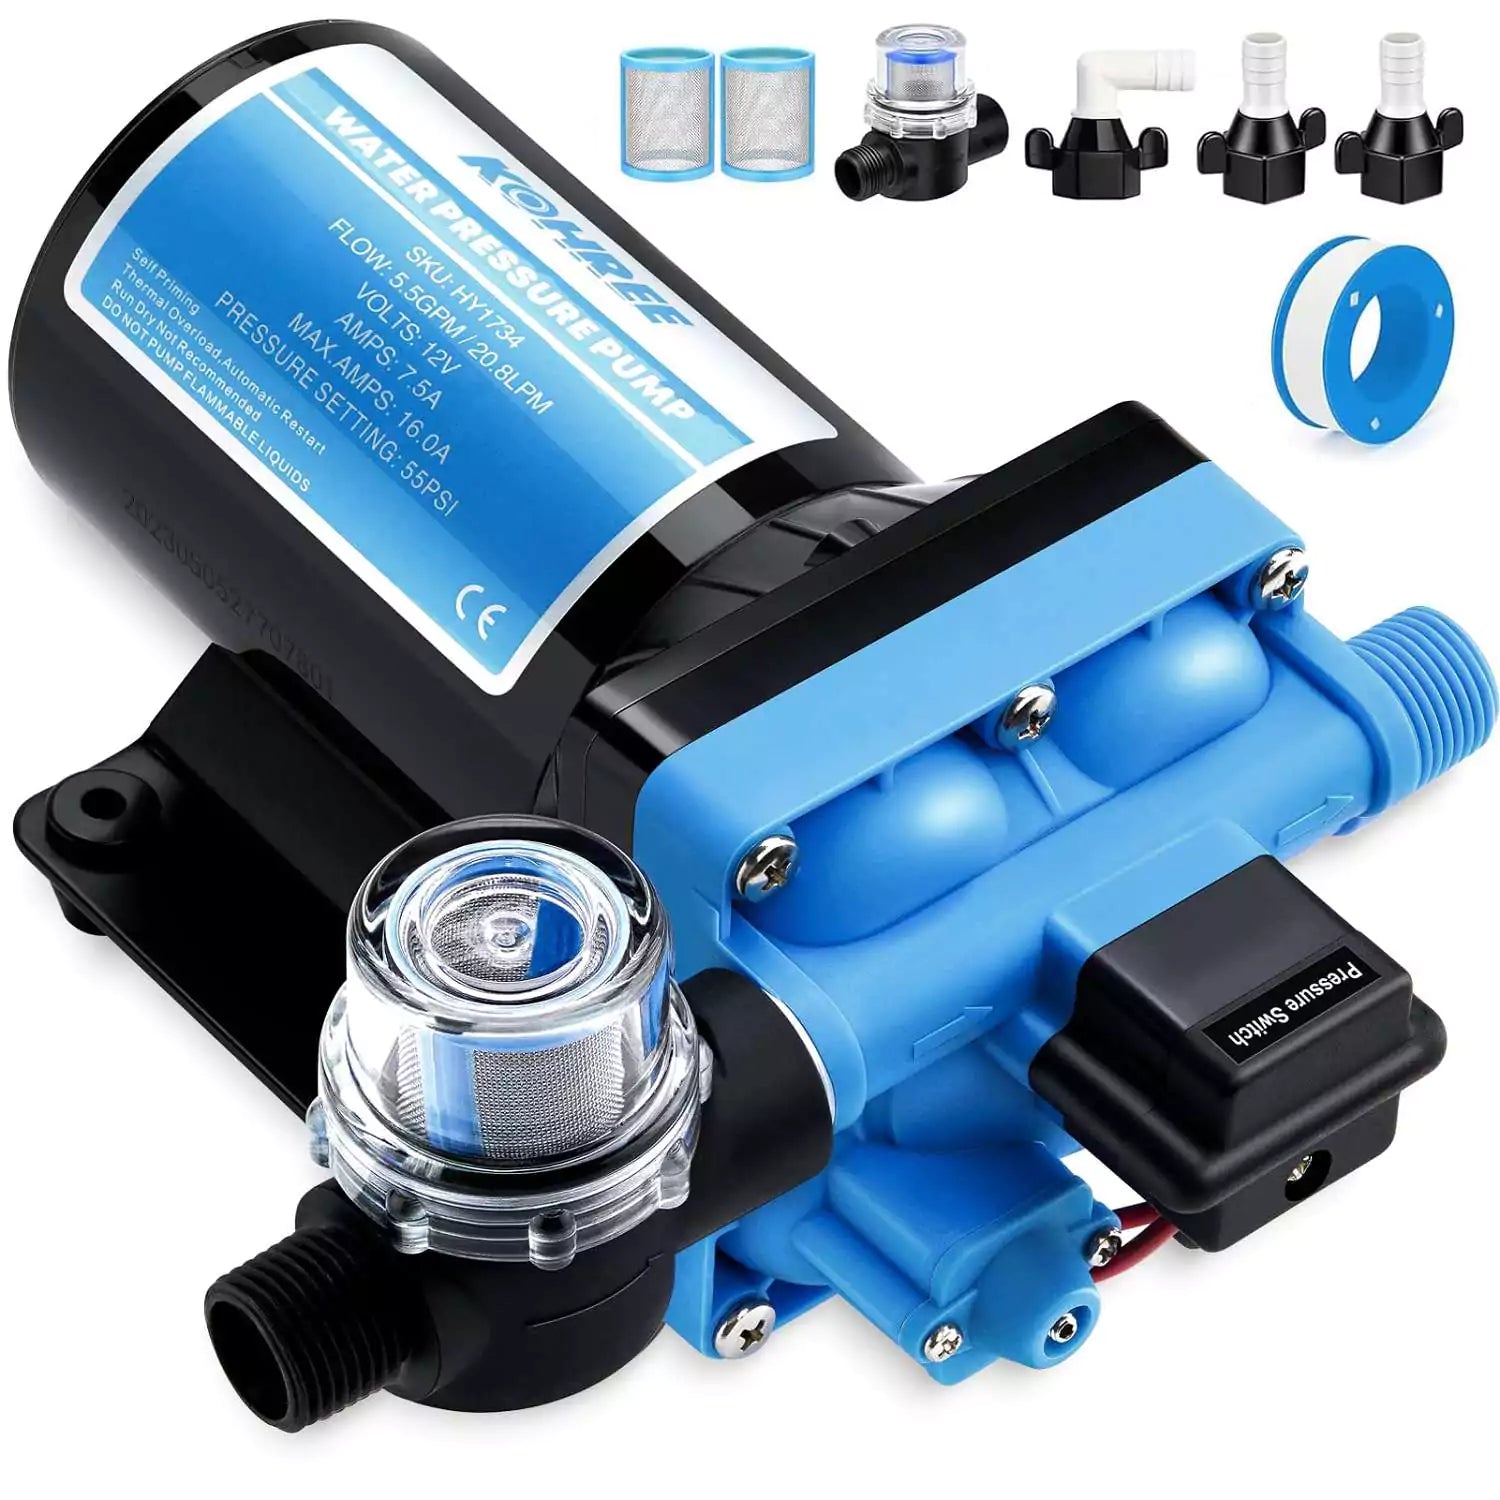
RVs offer the freedom to travel and live on your terms. But what about winter? Whether you're planning to embark on winter adventures or store your RV until spring, proper winterization is key to enjoying your RV year-round. If you find burst pipes, damaged seals, and a nightmare of repair bills when returning - all because you overlooked proper winterization. This guide will explain why winterizing your RV is important and provide essential tips to keep your RV running smoothly in cold weather.

Why You Need to Winterize Your RV?
Preventing Damage From Freezing Temperatures
One of the primary reasons for winterizing your RV is to prevent damage caused by freezing temperatures. Water expands when it freezes, which can lead to cracked pipes, damaged fittings, and ruined appliances.
A single overlooked water line can lead to thousands of dollars in repairs. The cost of prevention is dramatically lower than the expense of extensive repairs. Professional winterization can range from $100 to $500, while major plumbing repairs can easily exceed $3,000.
By winterizing, we can remove all water from the system or use antifreeze to protect it, ensuring that our RV remains intact through the winter months.

Ensuring Safety and Comfort During Winter Trips
For those who enjoy RV winter living, safety and comfort become paramount. Proper winterization ensures that your heating systems are functioning effectively and that your water systems are protected from freezing.
A well-winterized RV allows you to enjoy the beauty of winter without the worry of being stranded or facing uncomfortable conditions.
Additionally, it helps maintain a healthy environment by reducing the risk of mold and mildew growth caused by excess moisture.
When Should You Winterize Your RV?
Temperature Thresholds
The general rule of thumb is to winterize your RV when temperatures consistently drop below 32°F (0°C). However, it's wise to start the process earlier if you live in an area where temperatures fluctuate. If nighttime lows approach freezing, it's time to take action.
Regional Considerations
Different regions experience varying winter conditions. In areas with milder winters, you may not need to winterize until later in the season. Conversely, those in harsher climates should begin the winterization process earlier. Always consider your local climate when deciding when to winterize. You can refer to the following range:
- Northern Regions: Typically require earlier winterization (September-October)
- Mid-Latitude Areas: Usually need winterization by November
- Southern Regions: May have more flexibility, but still should prepare by late fall
Signs It's Time to Winterize
- Consistent overnight temperatures below freezing
- First frost warnings
- Extended periods of cold weather forecasted
- Planning to store your RV during the winter months

What You Need to Know About Winterizing an RV and Camper?
Different RVs Insulation Efficiency
Whether it's a Class B or Class C RV, both have RV shells, which is quite common. However, the insulation levels of Class B and Class C RV shells are different.
Class B RVs primarily rely on the original metal body, and at most, they add some expanded foam insulation between the metal and the interior panels. Some may even inject foam to fill gaps, creating a so-called insulation layer, but this type of insulation is inadequate. Particularly with foam filling, since it is not applied uniformly, there is a high likelihood of uneven insulation, leading to localized failures.
On the other hand, the thermal insulation properties of Class C RVs are generally better. Most Class C RV shells are manufactured as a single piece and then assembled, with shell thickness typically reaching 3 centimeters or even over 5 centimeters. Class C RV shells usually feature a sandwich or even a five-layer structure, consisting of at least an outer shell, insulation layer, and inner panel, among other components. This overall construction ensures uniformity in every part, resulting in significantly better insulation and cold resistance compared to typical Class B RVs.

Plenty of Interior RV Storage Space
The United States has a vast geographical range and diverse climate types, from the cold of Alaska to the heat of Florida, resulting in significant climate differences. Given the variety of climates, it is not uncommon to experience notable temperature fluctuations even over short distances. When traveling in an RV, you need storage space for seasonal clothing and warm blankets. If your RV lacks sufficient storage space, a sudden change in weather will prevent you from adjusting your clothing as needed, leaving you unprepared for the conditions.

Common Misconceptions About RV Winterization
Many RV owners mistakenly believe that simply draining the water from their tanks is sufficient. While draining is an essential step, it's not enough on its own. Antifreeze must be added to protect the plumbing system, and insulation measures should be taken to prevent heat loss. In reality, thorough winterization requires a comprehensive approach to ensure every part of the RV is protected.
RV Water System Winterize
Not all RVs can safely withstand winter. The main concern is preventing the water system from freezing.
To ensure your RV can survive the winter, the first step is to implement insulation and freeze protection measures for the water system, especially the water supply lines. If these lines freeze, they can burst, leading to irreparable damage.
Many RV designs place the water tank inside the vehicle, claiming to have freeze protection, but they often overlook the insulation of the pipes. After all, some pipes still need to run underneath the vehicle, and if they freeze, it will affect the RV's water supply.

RV Fuel Tank Antifreeze
Many RVs now have well-designed structures and water systems, but they often overlook freeze protection measures for the chassis, especially the fuel tank. Since RV modification shops are not chassis manufacturers, they typically do not make specialized modifications for the chassis fuel tank.
If your RV engine runs on diesel, extra caution is required. Unlike gasoline, regular zero-grade diesel can wax and freeze at temperatures below zero, preventing the vehicle from starting.
Although using negative 35-grade diesel is said to withstand temperatures as low as minus 30 degrees, it is expensive and may not always be available. Therefore, implementing freeze protection and heating measures for the RV's fuel tank is essential for ensuring that our RV can safely endure the winter.

Winterize Your RV Battery
The freeze protection of the battery system is often an overlooked aspect. Many batteries can function normally at room temperature, but once winter arrives, their efficiency can drop dramatically without proper freeze protection measures.
If batteries cannot charge or discharge effectively, RV users will find it challenging to survive in winter without power. Therefore, when choosing an RV, it's essential to select one with a battery that has automatic temperature control and protection features, as this is crucial for ensuring a safe winter experience.
To maintain battery health during storage, it's crucial to periodically charge and discharge them, a process known as trickle charging. The specific charging regimen should be recommended by the battery manufacturer. A low-amperage, smart trickle charger is ideal for this task, as it continuously monitors the battery's status and supplies a small, steady current to keep it healthy. This ensures your battery is ready for use in your RV next season.
Take Measures to Warm Air and Water in Your RV
After ensuring all external freeze protection measures are in place, comfort inside the RV is essential for a pleasant winter experience. A good heating and hot water system is a must-have for winter in an RV. Common options include propane heaters, electric heaters, and gas water heaters.
Among these, I highly recommend electric heaters for safety. Because it is easy to use and often comes in a portable design. However, electric heaters require power, so if your RV isn't equipped with a large battery or is far from a power source, electric heating may not be feasible.
Alternatively, you can use a portable propane heater for your camper, which provides warm air inside the camper, helping to keep you warm. Just ensure proper ventilation inside the RV and regularly replace the propane tank. A 20-pound propane tank can run a propane heater for about 12 hours. When traveling in winter, safety should always be your top priority.

Step-by-Step Guide to Winterize Your RV and Camper
How to Protect the RV Tanks and Pipes From Freezing
Freshwater Tank Winterization
- Complete Tank Drainage: To ensure complete water removal, locate and open both the low-point drain and freshwater tank drain valves on your RV. Then, use compressed air to thoroughly blow out any remaining water from the tank itself, water lines, faucets, shower, toilet, and water heater.
- Using Antifreeze Correctly: In winter, your RV's plumbing needs special care. Keep the water lines, fresh water tanks, and waste tanks from freezing. Here's the important thing to remember - Use a non-toxic, propylene glycol-based RV antifreeze. Calculate the necessary amount based on your RV's system size. Utilize a water pump converter kit or a manual hand pump to systematically introduce antifreeze. Begin at the closest faucet and run the antifreeze through each water line. Flush the toilets with antifreeze and pour it directly into drain traps. Ensure that pink antifreeze is visible in all water outlets to confirm complete coverage.
- Use Heat Tape to Prevent Cold: Seal any exterior openings near tanks to prevent cold air infiltration. Use heat tape on exposed pipes for added protection. Maintain a minimum interior temperature of 55°F to create a warmer environment within the RV. Finally, always check local weather forecasts before travel to plan accordingly.

Gray and Black Water Tank Preparation
- Thorough Tank Emptying: To ensure thorough tank emptying, utilize campground dump stations or approved disposal sites. Wear protective gloves and adhere to sanitation protocols. Empty both black and gray water tanks, taking advantage of tank rinse systems if available. Clean tank sensors and walls to prevent waste buildup and ensure optimal tank performance.
- Antifreeze Protection: To protect your RV's black tank from freezing, add approximately 1-2 cups of RV-specific antifreeze to the tank. Ensure even distribution by slightly moving the RV to coat the tank walls. This prevents residual waste from freezing and causing damage to the tank.
Advanced Freeze Protection Strategies
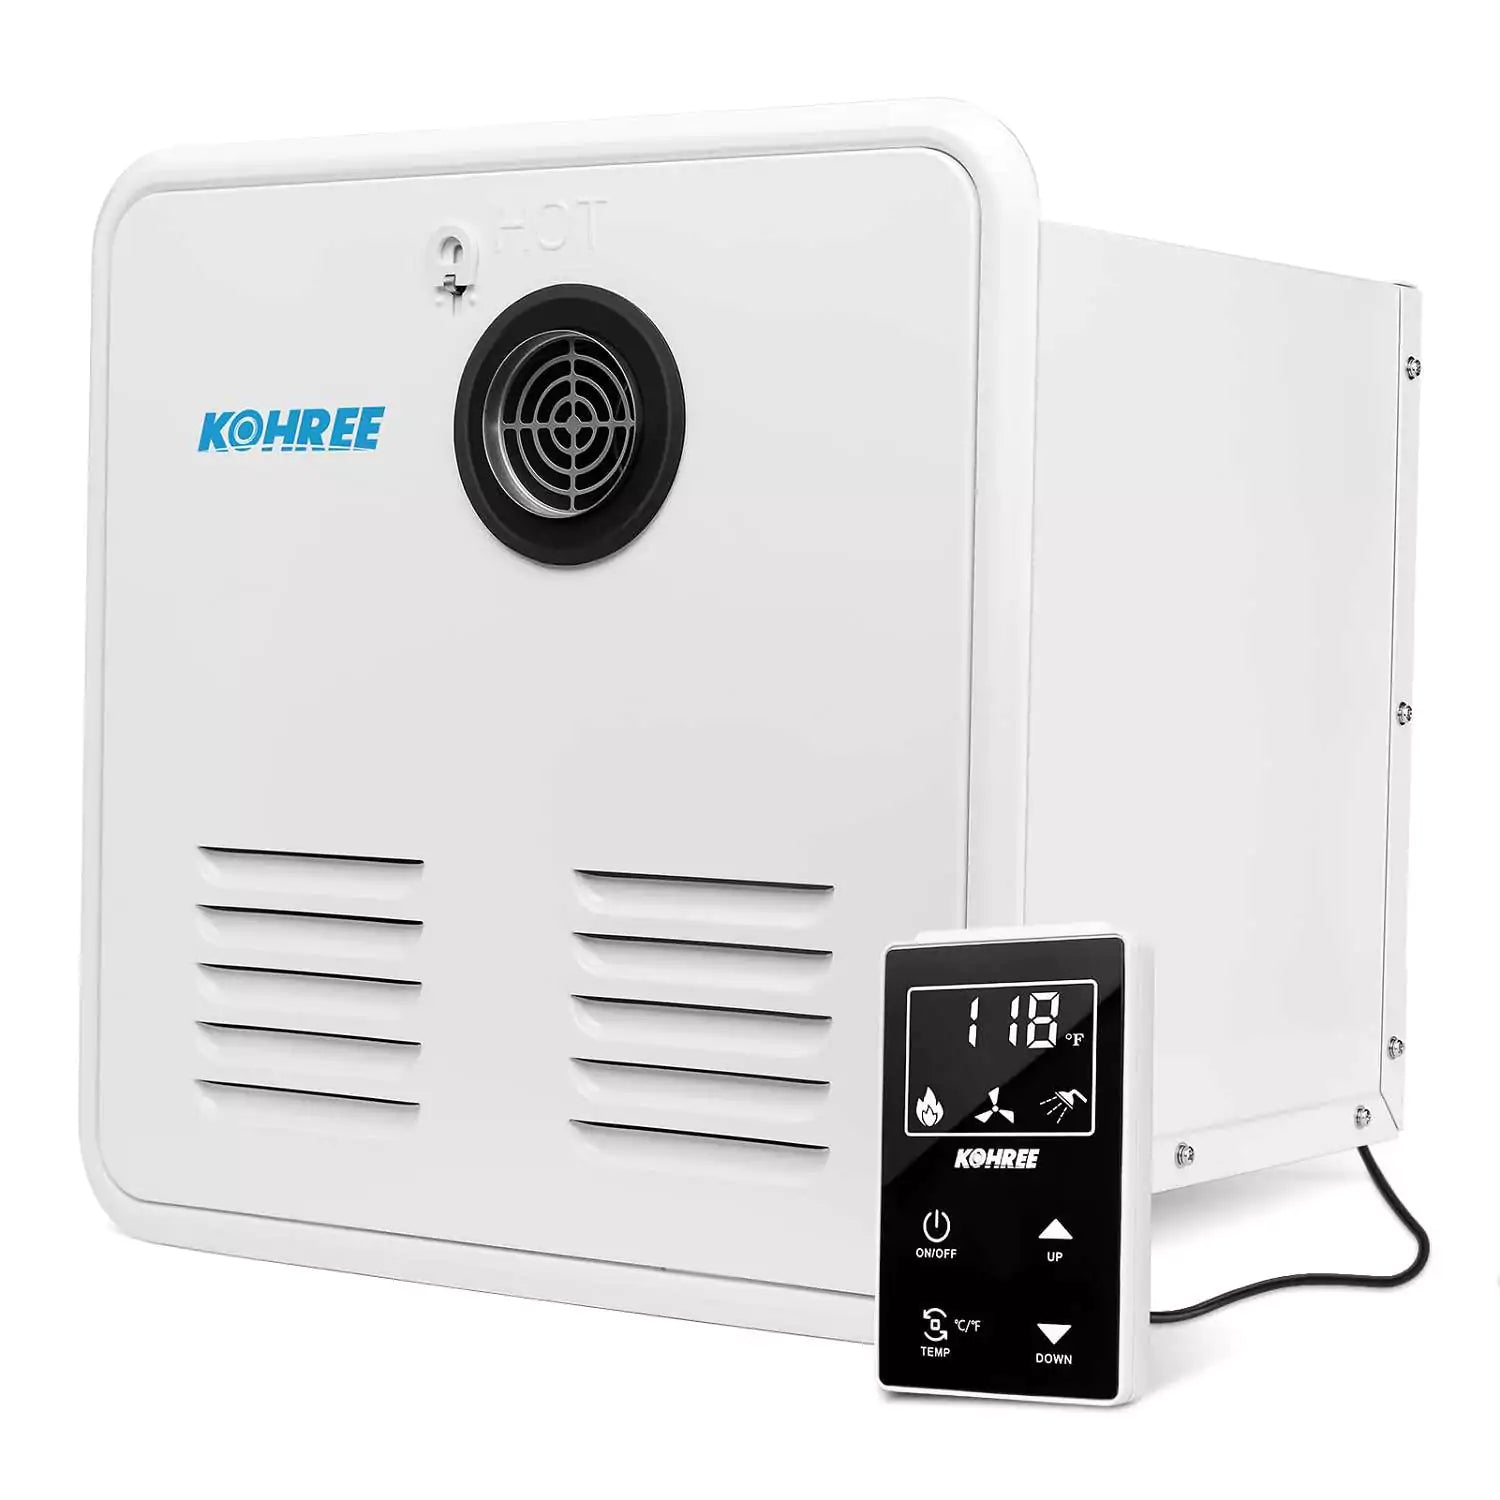
Consider implementing advanced insulation and heating solutions to ensure optimal protection against freezing temperatures. Electric tankless water heaters, whether permanently installed or portable, can provide direct heat application, which is especially beneficial for extended cold exposure. Thermostat-controlled heaters offer precise temperature regulation. Additionally, water tank heating pads act as reflective thermal barriers, reducing heat loss and preventing rapid temperature drops when wrapped around fresh and black water tanks.

How to Insulate Your Camper Windows and Doors
Proper insulation is essential for maintaining a comfortable interior temperature in your RV, reducing energy consumption, preventing condensation, and protecting against extreme weather conditions. By insulating your RV, you can improve its overall comfort and efficiency, making it more enjoyable to use year-round.
Window and Door Insulation Methods
Window Insulation Methods: To optimize window insulation, consider various techniques. Foam insulation boards, made of rigid materials like XPS or polyisocyanurate, can be custom-cut to fit your windows precisely. Removable adhesives or Velcro allow for easy installation and removal. These boards offer excellent R-value, blocking drafts completely while being lightweight and easy to store.
Alternatively, window insulation film, available in clear plastic shrink or thermal-reflective varieties, is a low-cost solution. After cleaning the window surfaces, apply double-sided tape around the frame and carefully stretch the film, using a hair dryer to create a tight seal.
Thermal curtains and window coverings are another effective option. Look for materials with multiple fabric layers, reflective backing, and a thick, heavy construction. Wool blends, thermal-lined fabrics, and insulated cellular shades are excellent choices. Ensure full window coverage and create an air gap between the curtain and window for optimal insulation. Consider using ceiling-mounted curtain tracks to achieve the best seal.
Simple window insulation checklist:
☐ Measure all windows
☐ Select the appropriate insulation method
☐ Clean surfaces thoroughly
☐ Install insulation materials
☐ Test for drafts after installation

Door Insulation Methods: To enhance door insulation, prioritize comprehensive sealing. Adhesive-backed foam tape, while easy to apply, provides basic draft protection for irregular surfaces. For a tighter seal, rubber compression strips offer durability and withstand repeated compression. V-strip weatherstripping, available in metal or plastic, provides excellent draft blocking and superior compression.
Consider door bottom seals, such as brush-style sweeps or rubber bottom seals with adjustable height mechanisms, to further prevent cold air infiltration. Adding rubber or silicone gaskets to the threshold creates an additional barrier against cold drafts.
Simple inspect door frames:
☐ Choose weatherstripping
☐ Apply bottom door sweep
☐ Seal any visible gaps
☐ Test door operation after installation
Sealing Potential Air Leaks
To enhance your RV's insulation, it's essential to seal potential gaps as much as possible. Look for areas like door frames and seams on the RV roof where drafts might sneak in.
Silicone-based caulk, also called self-leveling sealant is ideal for small gaps and cracks, providing a flexible and weather-resistant seal. For larger openings, expanding foam offers superior insulation. Once the foam has cured, trim any excess for a clean finish.
Budget-Friendly options:
- DIY window film: $10-$30
- Foam insulation boards: $20-$50
- Weatherstripping: $5-$25
- Thermal curtains: $30-$100

How to Keep Your Camper Warmth in Winter?
Choosing the Right Type of Heater
The selection of a suitable heating system is paramount for enjoying winter RV living. While propane, liquid petroleum gas, diesel, and butane are all viable options, propane is often considered the best choice for heating stoves. Butane can solidify at temperatures below freezing, diesel stoves require specialized equipment, and propane offers a convenient and efficient solution. Its convenience, hotter, and adaptability to various temperatures make it a popular choice among RV owners.
Portable Propane Heaters: These heaters are popular for their efficiency and ability to generate significant warmth quickly. They are particularly useful in larger RVs where maintaining a consistent temperature can be challenging. However, it's important to ensure proper ventilation to avoid carbon monoxide buildup. When you're camping outside your RV, the portable propane heater is the best alternative to a campfire.
Electric Space Heaters: If you have access to electrical hookups, electric space heaters can be a convenient option. They are generally safe and easy to use, providing consistent heat. Make sure to choose a model with safety features such as tip-over protection and overheat shut-off.
Consider the size of your RV and your specific heating needs when choosing the best type of heater for your winter adventures.
Using Space Heaters Safely
If you decide to use space heaters to keep your camper warm, it is essential to prioritize safety. Here are some important guidelines to follow:
Maintain Distance from Flammable Materials: Always position space heaters away from curtains, bedding, and other flammable items. A safe distance of at least three feet is recommended to prevent any fire hazards.
Never Leave Unattended: It is crucial to ensure that the heater's air vent is not blocked to avoid carbon monoxide poisoning. Never leave a space heater running while you are asleep or away from the camper. This precaution helps mitigate the risk of fires and ensures that you can respond quickly in case of any issues.
Ensure proper ventilation and dehumidification: During winter, moisture can easily accumulate inside RVs. Using an RV ventilation fan can effectively remove excess moisture and keep the interior of the RV ventilated and dry. Additionally, you may also want to consider using dehumidifying agents or portable dehumidifiers.
By taking these precautions and selecting the right heating options, you can ensure that your camper remains a warm and inviting retreat even in the depths of winter. Enjoy your adventures while staying safe and cozy!
Necessary vs. Unnecessary Measures to Winterize Your RV
Winterize RV Water System
Before winter arrives, it's crucial to check the weather forecast. If temperatures in your area are expected to drop below freezing, you must completely drain all the water from your RV, including both fresh and gray water. Keep the faucets and drains open to ensure all residual water can escape.
Why is this necessary?
Currently, most RV owners do not take specific insulation measures for their water systems. If you don't drain the water tanks in advance, the pipes are at risk of freezing and bursting once temperatures fall below zero. A severe freeze can lead to significant water damage, while minor leaks may go unnoticed for weeks or even months, potentially damaging your flooring.
After emptying the water tanks, it's advisable to pour some specialized antifreeze into the fresh water tank's inlet, floor drains, sink drains, and kitchen drains to prevent any remaining water from freezing (make sure to close the drain outlets).
If you, like me, prefer to drain your tanks ahead of time and plan to drive your RV rather than leave it stationary all winter, you may not need to take this extra step. The movement of the vehicle is usually sufficient to ensure all water is properly drained (just keep the drain outlets open).
What is unnecessary?
As for the black water tank (toilet), there's no need to worry too much. Since the bathroom is used regularly and is connected to the warm air inside the RV, many models even have dedicated heating vents in the bathroom. This minimizes the risk of freezing, and even if it does freeze, it typically won't cause damage.
If your black water tank has an exterior access point for removal, remember to spray some propylene glycol-based RV antifreeze on the lock and latch areas before winter. This will help prevent freezing and ensure that you can easily open the hatch and detach the black water tank when needed.
Replace the Battery for the RV Electrical System
What is necessary?
When it comes to the electrical system, there's generally no need for excessive concern during winter. However, it's important to pay attention to the batteries in your RV- whether they are lead-acid or lithium batteries both types can experience performance degradation in cold weather. In extreme cases, they may fail to charge, and lithium batteries can even explode due to lithium crystal growth.
It is advisable to equip your RV with lithium iron phosphate (LiFePO4) batteries. These batteries are smaller than lead-acid batteries and offer better safety compared to ternary lithium batteries. While they may degrade more significantly in cold temperatures, the battery compartment in most RVs is connected to the interior, which mitigates the impact. If your RV's battery compartment is isolated from the living space, it is essential to implement proper insulation measures.
When purchasing lithium batteries, try to choose products from reputable manufacturers that include low-temperature protection. If your budget allows, you can also opt for low temperature resistant lithium batteries. The former typically features a battery management system that prevents charging below zero degrees Celsius (based on the cell temperature), effectively avoiding lithium crystal formation. If your RV battery lacks low-temperature protection, you can heat the interior sufficiently before charging the battery to eliminate safety hazards. However, be sure to avoid letting the battery discharge too much.
What is unnecessary?
Regarding the fuel system, gasoline engines do not require much attention, simply replace the coolant, windshield washer fluid, and engine oil with low-temperature variants. For diesel engines, in addition to these changes, it is advisable to install a preheating system to prevent starting issues in extremely cold conditions and to improve fuel efficiency.
If your RV's heating and water system uses a coolant circulation system, you may not even need to change the engine oil. This system heats the coolant in the engine to transfer heat, meaning that when the heater is running in the RV, the engine is already warmed up. You can then start the vehicle with a warm start. When the RV is blowing warm air, the temperature gauge on the dashboard typically reads around one-fifth of the full scale. However, if your RV uses a standalone diesel heater, this method may not be applicable.
Don't Insulation for Your RV
During the winter after I purchased my RV, I took a self-driving trip to Denali National Park in Alaska, where the temperatures dropped to around -27 degrees Celsius. Considering that the insulation properties of vehicle windows are not as effective as the vehicle body, I proactively bought insulation material to cover several windows in the living area of the RV to enhance its thermal performance.
However, this turned out to be unnecessary, as the RV space is relatively small. Once the heater is turned on, it is sufficient to warm the entire area. Conversely, the small size of the vehicle makes it almost insignificant compared to the vast natural environment outside. If the heater is not used, even the best insulation will not prevent the interior from becoming extremely cold.
It's important to note that Class B RVs generally have poorer insulation compared to similarly priced Class C RVs. If you plan to travel to extremely cold environments, it's advisable to add an extra layer of insulation inside the RV. For example, you can lay down blankets and use tape to seal the seams. This is because the walls of Class B RVs are typically made of factory metal, which conducts heat too well and can quickly dissipate warmth from the interior.
Professional vs. DIY Winterization
When to DIY?
If you're a hands-on individual comfortable with basic tools and mechanical tasks, winterizing your RV yourself can be a rewarding experience. Just be sure to follow the manufacturer's guidelines and online resources to ensure proper procedures.
When to Seek Professional Help?
If you're unsure about any aspect of winterization, or if your RV has complex systems, consider seeking professional help. An expert can ensure that everything is done correctly, giving you peace of mind.
Cost Considerations
DIY winterization typically costs between $50 and $150, depending on the materials you use. Professional services, on the other hand, can range from $150 to $300, depending on the complexity of your RV and the services required.
Finding Reliable RV Winterization Services
When looking for professional winterization services, seek recommendations from fellow RV owners or check online reviews. Ensure that the service you choose has experience and a good reputation.
Additional Tips for RV Winterization
Storing your RV Properly During Winter
If you plan to store your RV for the winter months, it is crucial to select a dry and sheltered location whenever possible. This will help protect your vehicle from harsh weather conditions, including snow, ice, and strong winds. Ideally, look for a storage facility that offers indoor options, as this can provide the best protection against the elements. When parked outdoors, you can use a tire cover to protect your tires, preventing them from cracking in cold weather and extending their lifespan. Outdoor snow and soft ground can easily cause RVs to get stuck. To ensure stable and safe parking, you can use electric trailer jacks and leveling blocks to reduce the sway of your camper and trailer, enhancing parking safety.
Additionally, ensure that the area where you park your RV is free from debris and overhanging branches that could potentially damage the roof or exterior during winter storms.
Checking and Maintaining RV Batteries
Before placing your RV in winter storage, it is essential to check the condition of your vehicle's batteries. Start by inspecting the batteries for any signs of corrosion, which can occur due to the buildup of acid over time.
If you notice any corrosion, clean it off carefully using a mixture of baking soda and water, and ensure that the terminals are securely connected. It is also important to ensure that the batteries are fully charged before storage, as a weak battery can freeze and sustain damage in cold temperatures.
If you plan to store your RV for an extended period, consider disconnecting the batteries entirely to prevent any potential drainage. Alternatively, you can use a battery maintainer or trickle charger to keep the batteries charged without the risk of overcharging.

Preventing Pests and Moisture Buildup
To effectively prevent pests from taking up residence in your RV during the winter months, it is crucial to clean your vehicle thoroughly before beginning the winterization process. Remove any food items and seal any remaining food containers to eliminate potential attractants.
Installing an appropriately sized furnace vent cover on your RV's vents can effectively prevent mosquitoes, moths, and other insects from entering the vehicle, ensuring your comfort and hygiene while camping.
Additionally, consider using pest deterrents, such as traps or natural repellents, to further safeguard your RV. Ensuring that your RV is completely dry is equally important in preventing moisture buildup, which can lead to mold and mildew growth. Before winterizing, check for any leaks or areas where water may accumulate, and address these issues promptly.

Exterior RV Protection
To protect the exterior of your RV from the harsh effects of winter weather, it is advisable to invest in a high-quality cover designed specifically for RVs. A durable cover will shield your vehicle from snow, ice, and damaging UV rays, which can fade and deteriorate the exterior over time.
Look for covers that are made from breathable materials to prevent moisture buildup underneath while still providing robust protection against the elements.
Additionally, consider applying a wax or sealant to your RV's exterior before covering it for the winter. This extra layer of protection can help prolong the life of your vehicle's finish and keep it looking its best when you're ready to hit the road again in the spring.

Final Thoughts
Winterizing your RV is an essential task that requires careful planning and execution. By following the steps outlined in this guide, you can ensure your RV remains in optimal condition throughout the winter months. Taking the time to winterize not only protects your investment but also enhances your safety and comfort during winter travels.
Whether you are a beginner or an expert, Kohree strives to solve all the difficulties you encounter on your RV journey and is committed to manufacturing quality RV accessories for you. If you find this article helpful, please share and comment. Get professional winterization kits to enjoy your winter camping!
